articles/Commercial/fujifilmespripsolution-page1
FujiFilm ESP RIP Solution - part 1 of 1 2 3
by Mike McNamee Published

FujiFilm ESP RIP Solution
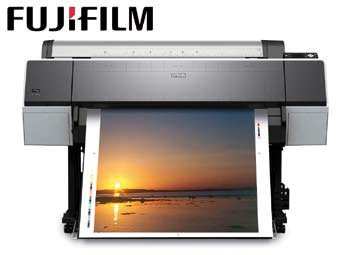
TOP: The ESP system is now available for the Epson 7900, a 24" printer with the new high dynamic range ink set as reported in the last issue of Professional Imagemaker.
The acronym stands for Easy Studio Print, so let's get the easy bit out of the way first. Providing you present this printing system with simple files with no frills (typified by TIFF or JPEG) you can follow the five-stage process in a couple of minutes and be printing anything from large single files to complex mixtures of files in multitudes of sizes on the same sheet or even vast mixtures of nested files optimised for minimum media wastage. The Photo Pack Editor even allows you to design your own layouts and reuse them.
With such a simple workflow the system is attractive to a busy studio with a lot of printing to get out with a minimum of fuss, onto a number of media types, but limited to those of the FujiFilm range. This last caveat is important as things get more complicated as soon as you start to try and implement profiles for third-party media. However, for a busy studio the FujiFilm range is more than adequate.
The steps to ESP are as follows:
Step 1 Image Location
Here you navigate to the folder containing your 'job' (eg a wedding) and wait while the software caches the thumbnails. A set of 445 JPEG images, each nominally 3.2MB, took 4m15s to cache. While this seemed like an age it is only 0.6 seconds per file which is quite quick. Revisiting the cached file delivers the complete view in a couple of seconds. You may navigate to other file locations when building your output.
Step 2 Layout
A choice is made from about 20 single sizes of page or another 30, or so, complex pages, made up of multiple images, which may be the same or differing sizes.
Step 3 Image
Edit Here the composed page may be adjusted for placement, rotation, image flipping, etc.
Step 4 Media Profile
At this stage you select the media (which is probably already loaded into the printer), the resolution and whether you want colour or monochrome output. This dialogue box may be 'user simplified' to show only your favourite media. You may choose, for example, to have just satin paper in either colour or monochrome, that is, two options only.
Step 5 Print Options
From here you select print quantity, crop marking, job labels, cutting and, if required, nesting. Nesting arranges prints in an order optimised for easy cutting and minimum wastage.
Step 6 Print
Bang the big print button and wait for your print. It really is that simple. Spooling to the printer took a matter of seconds indicating a reasonable processing engine.
You are currently on page 1 Contact Mike McNamee
1st Published
last update 21/07/2022 08:46:24
More Commercial Articles
There are 0 days to get ready for The Society of Photographers Convention and Trade Show at The Novotel London West, Hammersmith ...
which starts on Wednesday 14th January 2026


