

.

articles/Software/cavewarrior-page2
by Tom Lee Published 01/06/2011
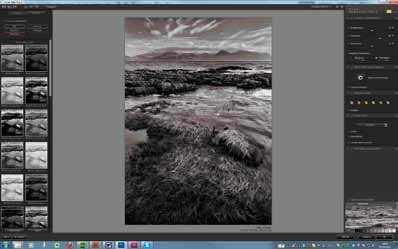
We made some real prints from the shoot organised with Tom Lee and described in the review of the Reflectmedia system using PermaJet Distinction (see review this issue). Tom's workflow for the shot was as follows:
1. Shoot original in RAW
2. Balance up the image skin tones, etc in the normal way noting that the visual effect is 'tainted' by the surrounding green tones of the Reflectmedia backdrop
3. Save the file as a JPEG
4. Import the file to PhotoKey 4 which automatically cuts out the green background
5. Export the result as a TIFF or PNG file (to preserve the transparency)
6. Import the file to Photoshop
7. Build up the background and montage elements (cave and bat wings)
8. Adjust the composite image both tonally and to balance the depth of field blurring using Nik Viveza and ColorEfex Pro
9. Using Silver Efex Pro3, convert the file to monochrome then tweak the base colour to provide a cool-tone print
10. Resize, key line, border and title the print
11. Print the image
There are 0 days to get ready for The Society of Photographers Convention and Trade Show at The Novotel London West, Hammersmith ...
which starts on Wednesday 14th January 2026


Society of International Commercial and Industrial Photographers (SICIP) is a trading name of BPPA Ltd
The Society of Photographers
Clwyd Chambers, Clwyd Street, Rhyl, Denbighshire, LL18 3LA
BPPA Ltd Company Reg 0392 2894
VAT number 790 4289 05
Tel: +44 1745 356935


Home Page - Find a Photographer - Benefits of Membership - Professional Imagemaker Magazine - FREE information pack - Privacy - London Photography Show Europe's Largest 'All-Welcome' Photographic Convention
Newsletter
Subscribe to the Societies Newsletter. Subscribe here.